Create a Course

Create a Course
- Click Courses on the left menu panel.
- Click Course Index option from the drop-down options.
- Click the orange Create Course button at the top right of the page.
- To create a new course, complete the following details:
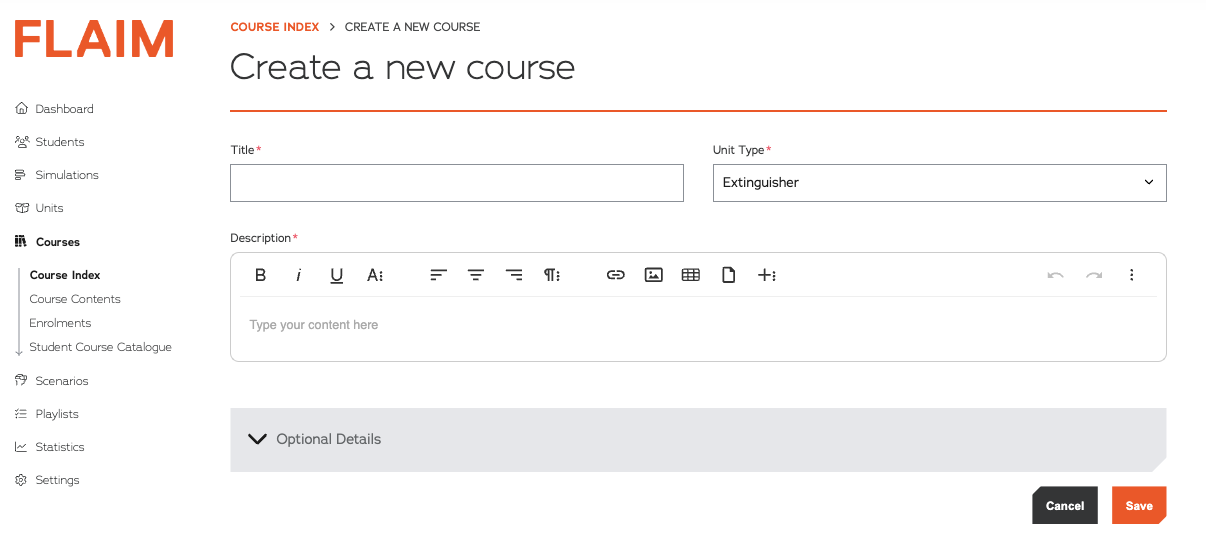
- Title: This is the title of the course.
- Unit Type: Select the product is this course designed for (Extinguisher/WSF or Trainer)
- Description: A description of the course.
- Click the grey box labelled Optional Details to configure the new course further:
- Certificate text: Text that will be displayed on the certificate that will be awarded when the course is completed and available for download or printing as a PDF.
- Unsuccessful course message: The message that will be displayed if a learner completes the course but does not satisfy the requirements for a “Pass”.
- Renewal period in month: Each course completion will award the learner a competency. This enables you to specify for how long (in months) the competency will be valid for before there is a requirement to complete a refresher course. If left blank the competency will remain valid without requiring the learner to complete any additional refresher training.
- Ordered progression: This field enables you to specify if the course elements must be completed “lock step” in the sequence you have specified (Yes) or if the learner can complete the course elements in any sequence (No).
- Limited quiz attempts: “No” means that the learner can fail and then re-attempt the quiz without any limit. “Yes” means that learners will only have a limited number of attempts to pass the quiz before the activity is considered “Completed” as either a Pass or Fail.
- Number of attempts: If you selected “Yes” for “Limited quiz attempts” you must specify with a number how many attempts learners can take to try and achieve a Pass for the quiz activity.
- Author: You cannot edit or change this field. The Author field displays the name of the organisation that created the course.
- Promotional image: All courses are required to have a promotional image. Images should be in landscape orientation with a recommended resolution of 800 x 600. To add the promotional photo, click Add Photo.
- Click the Save button at the bottom of the page. If you do not want to save the course, click on the Cancel button.
- When a course is created:
- It will have a status of “Draft”
- It will have no course content.