Connecting to TV/Display

Connecting to TV/Display
Step 1: Turn on the FLAIM receiver
The FLAIM FEX receiver allows the trainer and others in the room to view a mirror (copy) of the VR headset screen on a TV or monitor.
- Remove the FLAIM receiver and HDMI cable from the case.
- Connect the HDMI cable to the HDMI end of the FLAIM receiver.
- Plug the HDMI end into the HDMI port on the TV / monitor.
Note: If using the monitor supplied, connect the HDMI micro adapter to the HDMI socket. - Plug the USB lead into the USB port on the TV / monitor.
Note: If using the monitor supplied, connect the USB A to USB C Y splitter cable into the monitor and FLAIM receiver. Use the international USB adaptor.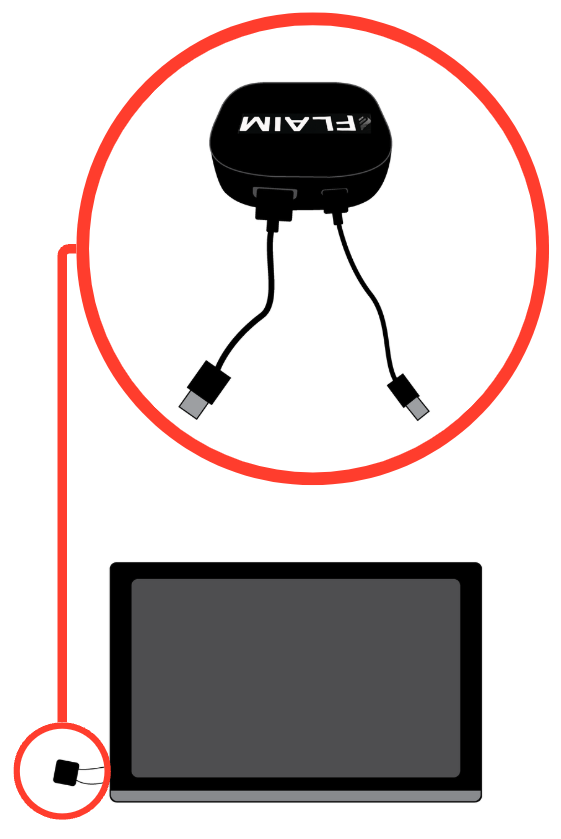
- A white light will illuminate on the FLAIM receiver once powered.
Step 2: Select the input source
- Turn on the TV / monitor.
- Select the source on the TV / monitor.
The 'Ready to Connect' screen should display on the TV / monitor.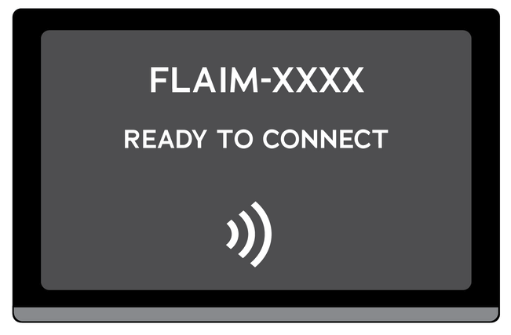
Step 3: Connect via FEX Headset
- When in the VR headset, click the Headset button on the left hand side of the VR goggles. You can then click on Cast to bring up a list of available devices.

- Select the FLAIM device by clicking on its name (e.g. FLAIMXXX).
- You should see 'Connecting to this display' on your television or projector. It may take 10-20 seconds to connect.
- FLAIM FEX will now be streaming to the external display. It will show the VR headset view.
- If the overlay remains visible, short press the headset button once to close the menu.