Battery Care & Charging
VR Headset
The VR Headset should be charged after each use.

- Remove the VR Headset charging cable from Case 1.
- Connect the VR Headset charging cable input to the Hose Reel.
- Connect the VR Headset charging cable output to the VR Headset.
Tracker and Controller
The Branch / Nozzle Tracker and Controller should be charged after each use.
- Connect the USB-C Y-Splitter cable input to the USB-C port on the side of the VR Headset.
- Connect one USB-C Y-Splitter Cable output to the Branch / Nozzle Tracker.
Connect the other USB-C Y-Splitter Cable output to the Controller. - An amber light means the devices are charging
- A green light means the devices are fully charged
The branch / nozzle tracker and the controller should charge within 1 hour and provide approximately 4 hours of use.
Branch / Nozzle
The branch / nozzle batteries are non-rechargeable standard off the shelf AAA batteries. They should be replaced as a first response if the branch / nozzle begins to show inconsistent connection.
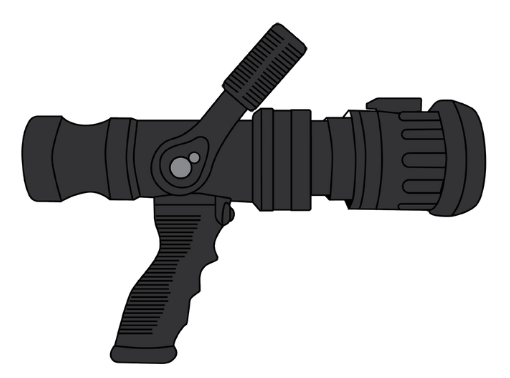
Ensure the batteries are placed in the correct direction.
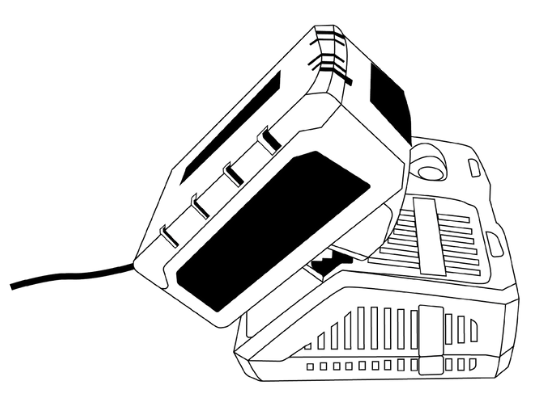
SCBA
Batteries should not be charged when hot. They may require a 30 minute cooling period once removed from an SCBA before charging is commenced.
The included batteries have a thermal safety mechanism built-in and will not charge if too hot.
The SCBA battery connects to its charger by sliding into the charge bay:
- A red light means the SCBA battery is low charge or charging
- A green light means the SCBA battery is fully charged
- The SCBA battery should be fully charged within approximately 1 hour and provide approximately 2 hours of standard use.
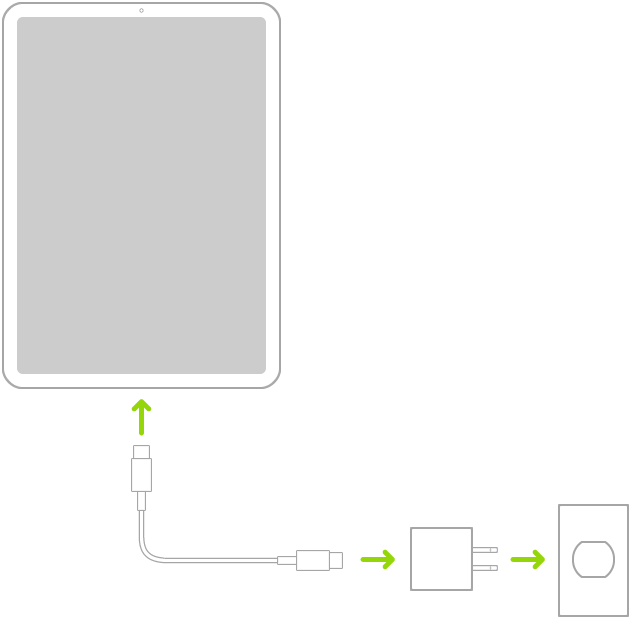
iPad
Connect iPad to a power outlet using the included cable and power adapter.
Keyboard
The keyboard contains 2 x AA batteries. These should be replaced and recycled according to the manufacturer’s instructions here.
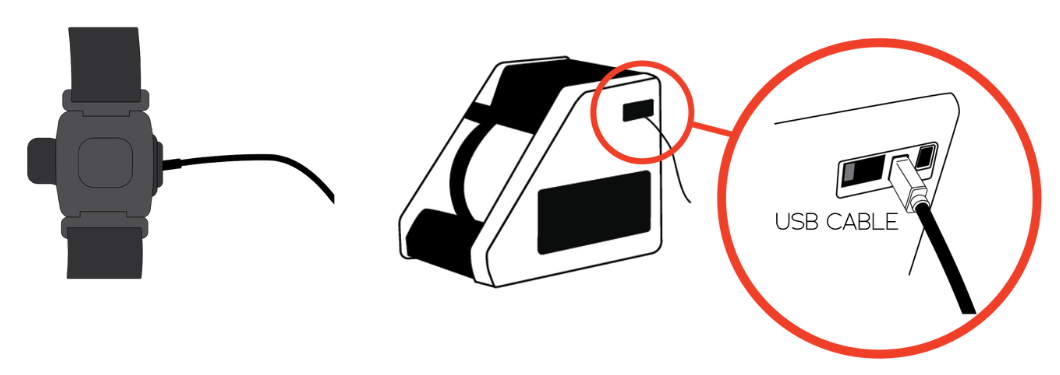
Armband Heart Rate Monitor (optional)
- Attach the Armband Heart Rate Monitor to the charging base.
- Connect the USB to a USB port in the Hose Reel.
- A red light means the device is charging.
A blue light means the device is fully charged.